Solargraph
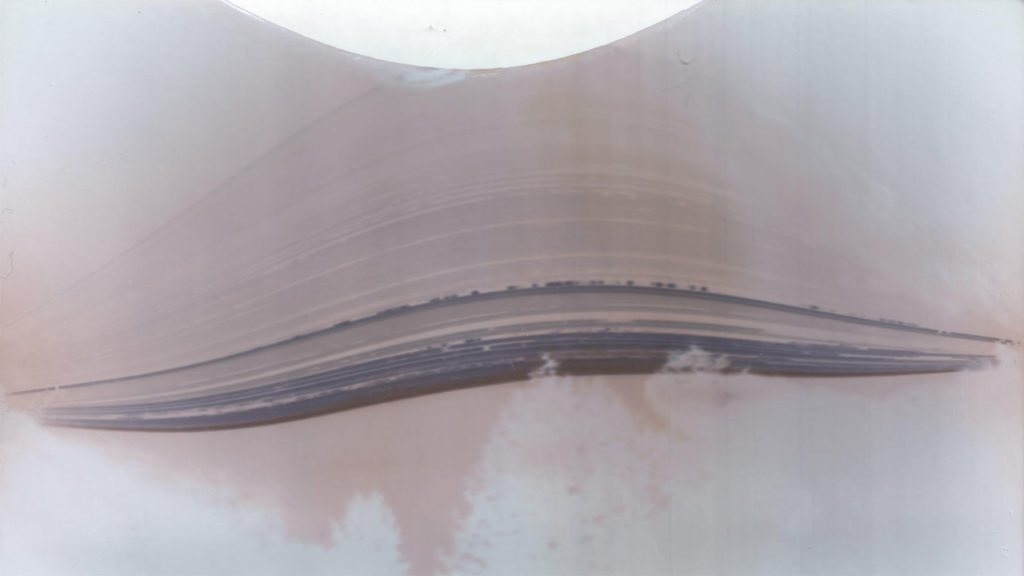
I just pulled the photo paper from my solargraph, running from Aug 7 through Dec 20, 2017. Almost 5 months. There was a tablespoon or two of water in the bottom, which I believe could have only come in through the pinhole.
I made a video on this, you can view on YouTube:
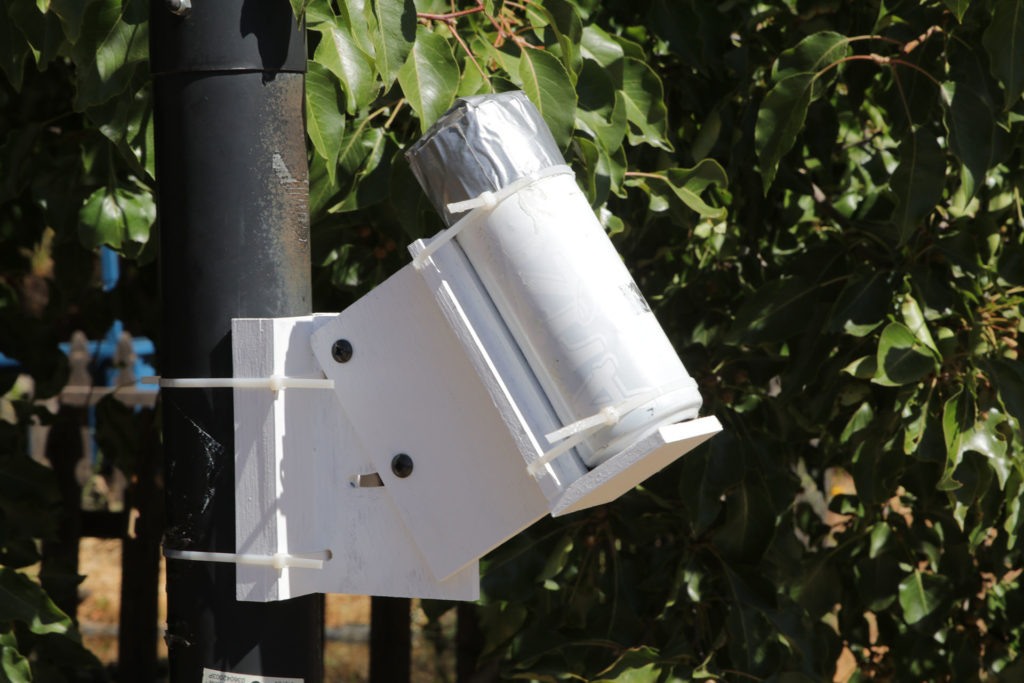
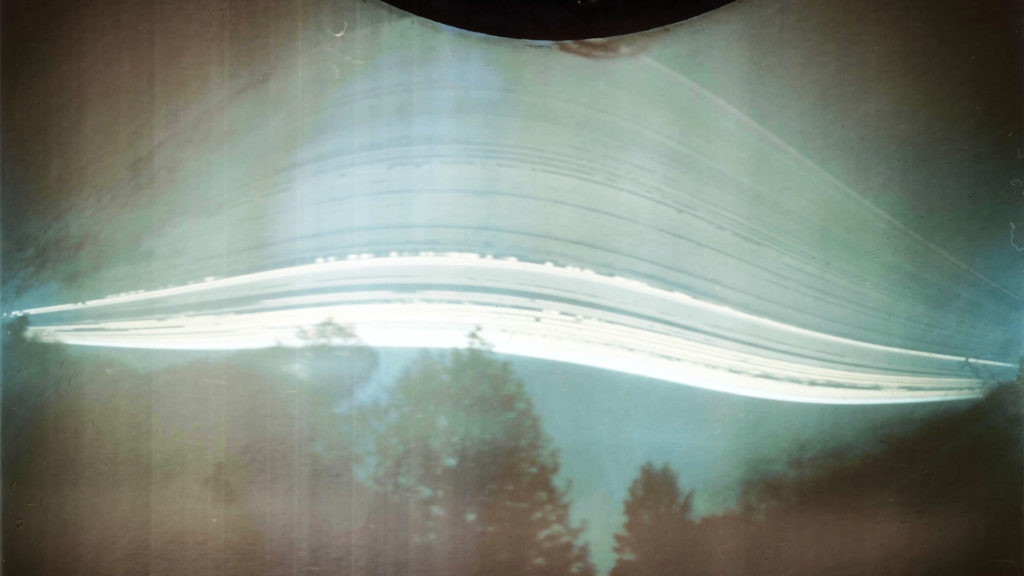
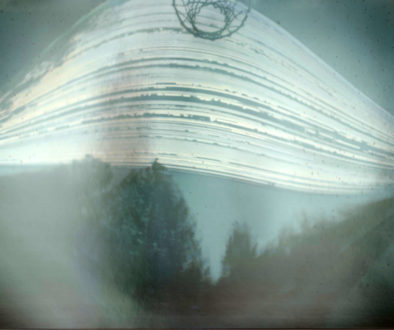
I basically just used a tall beer can, much taller than a regular soda can. I cut the top off to be able to get the paper in. I painted the inside flat black to reduce reflections. I used a 5×7 piece of photo paper, but you can use any size container you wish, and cut the photo paper to fit. I fit the photo paper in sideways (landscape mode) in the can, basically the same as you see the images above. This leaves a slight gap in the paper, I aligned that up with the pinhole I made in the can. Make sure the paper is not covering the pinhole. The shiny side of the paper should face inside the can, the shiny side is the photosensitive side. When I mounted the can, I made a plywood holder that I can adjust the tilt on. I checked in the summer to make sure the dot of sunlight coming through the pinhole was on the side of the can where the paper would be, not the bottom of the can.

Face the solargraph south (in the northern hemisphere), where it has a good open area for the sun to show.
Make the pinhole fairly small. I used a push pin, and didn’t even push it in all the way. I also read to sand the inside of the can to take off the burrs around the puncture point, to get as clean of a hole as possible for the image.
Don’t let your image go past Dec 21 or June 21 (the solstice), as the sun path will then start repeating back on itself, and I think you’d lose a lot of the detail in the sun path on the image. You will be able to pick out days it was cloudy, and days it was partly cloudy based on how the sun path looks. You can start it any time, just don’t go past those two dates (the winter and summer solstice dates – which aren’t always on the 21, but around there).

Notice the white oval at the top center of the image above, that’s where the paper was sitting in the water that leaked in.
You don’t need to develop the paper, or “fix” it. Just remove the paper in a low light area, not in the direct sun, and only for a few seconds. If the paper is wet, put it in a book, maybe with a papertowel folded around it, and let it dry before scanning it. Put the book in a dark spot. Get it in the scanner when it is dry. Don’t do a prescan, just scan it one time, each time you scan it, the paper will darken more from the light. After scanning it, bring it into an image editor, and flip it horizontally, and invert the colors. Adjust the contrast to make it look better.
With the water getting in the pinhole in my last one, I decided to try putting in a drain. The problem with adding a hole for a drain is, you don’t want any light getting in the can. I made a very small puncture in the lowest spot in the can (based on the angle I have the can sitting). I then cut off a couple inches off the bottom of another can. I used some caulking to glue in a small piece of aluminum over another hole in the bottom of that can. All of this was sprayed with flat black paint to stop any reflections. So water will drip out of the main can, on top of the small piece of aluminum I glued over the hole in the short bottom piece, it will drain under that and then out the hole in the short bottom. Light coming in the short bottom will hit the little piece of aluminum and be unable to hit the tiny hole in the main can. These holes are very tiny, I don’t want light getting in there. The drain holes are basically also pinholes. I haven’t seen where anyone else tried to make a drain, so I’ll have to see how this works. I’ll find out June 20, 2018, when I replace the paper once more. I’d suspect this next 6 months will have the worst problem with water, since the rainiest months are coming up for California. I did test my drain hole idea in the sink, and it worked great.
I used black electrical tape to tape the bottom of a can onto the top, thus no water or light can get in the can there. My optional drain makes use of a second bottom of a can, so I used black electrical tape to tape that on also. I used duct tape on top of that. This needs to survive months of being outdoors. Also how you mount it needs to be sturdy enough it won’t move for those months. My first attempt of attaching it to the pole on an angle didn’t work, and the can partially fell after only a couple of hours. Thus, I made the super fancy overkill of a mounting bracket out of some thin plywood I had. It even swivels so I can adjust the angle of the can to make sure the sun won’t shine on the bottom of the can (off the paper) during the start of summer when the sun is at its highest.
Some people use the old plastic film canisters, you could always use a regular soda can size, just cut the photo paper to fit, and make sure and keep the paper in low light for only a short period of time. I used a tall beer aluminum beer can, but anything that will keep the light and elements out will work.
You can test yours out for a day or a week, just to make sure it looks like it is working, then start a new piece of paper and try to go all the way to the next solstice. Have fun, this is a great project to do with your kids too!
Here’s a couple of types of paper that will work, these are Amazon links:
The paper I used: http://amzn.to/2zhgGJ8
Alternative paper: http://amzn.to/2CZNkRv
Or this paper: http://amzn.to/2D1AceN

