Here are the details of building my backyard roll off roof observatory to permanently house my telescopes. I can be ready in minutes to start taking images.
I’m hoping to get more of the interior finished this summer, I’ve started on the walkways to the door, and to my new shed. The roof motor is working great! a video of the roof opening. The roof motor is from Backyard Observatories.
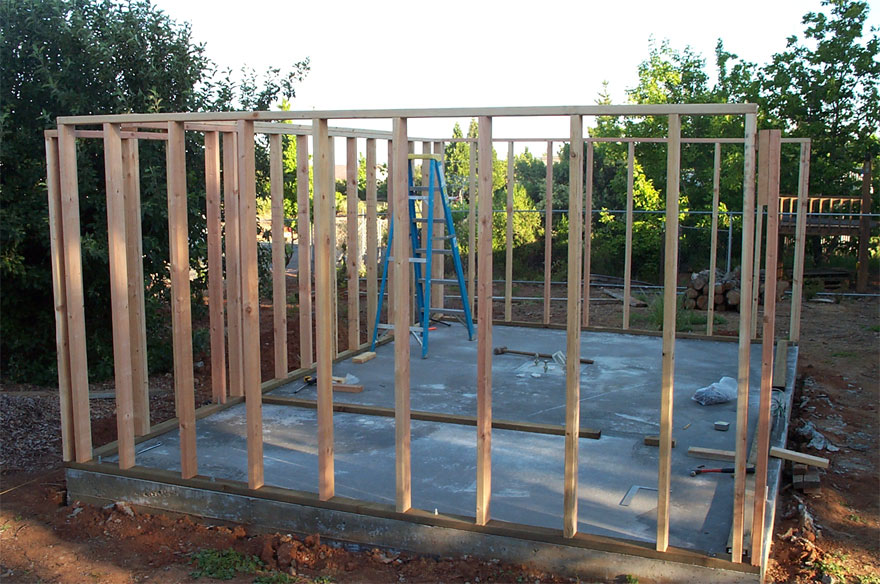
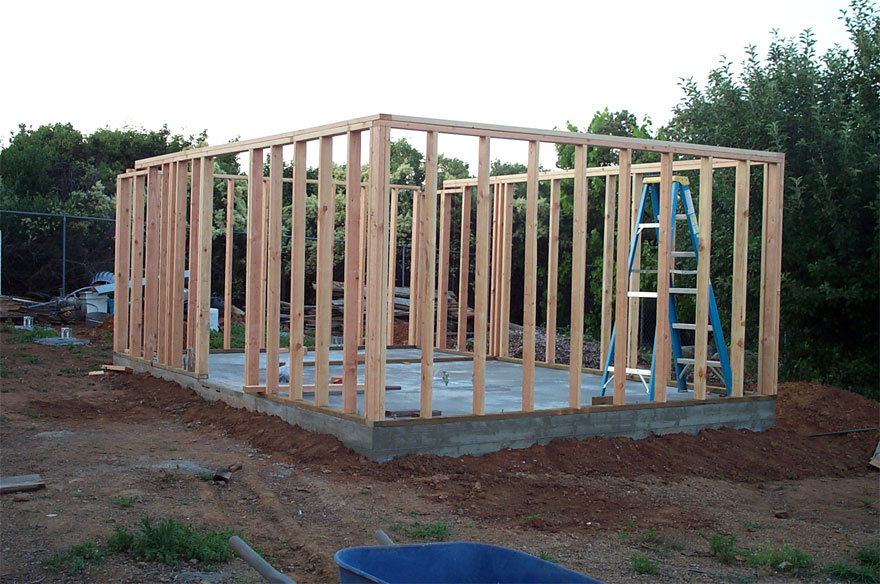
This is a pictorial history of the construction of the roll off roof observatory. I’ve wanted to build something like this for a very long time! It was very exciting to get to working on it.
The observatory is in Shingle Springs, which is about 30 miles east of Sacramento, California, up in the foothills at an elevation of 1,650 feet.
If you have any questions on the building details, use the Contact Me page and I’ll see if I can answer your questions.
Many thanks to my neighbor for being kind enough to turn his porch lights off while I take pictures!
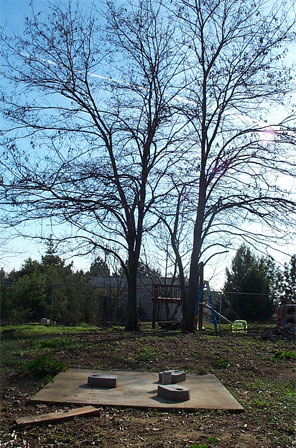
Old Pad and Trees
This is the old newtonian mount pad, and two Locust trees, that spray sap all summer (not good for expensive optics), drop thorny twigs (not good for my dog’s feet), and block the view to the south.
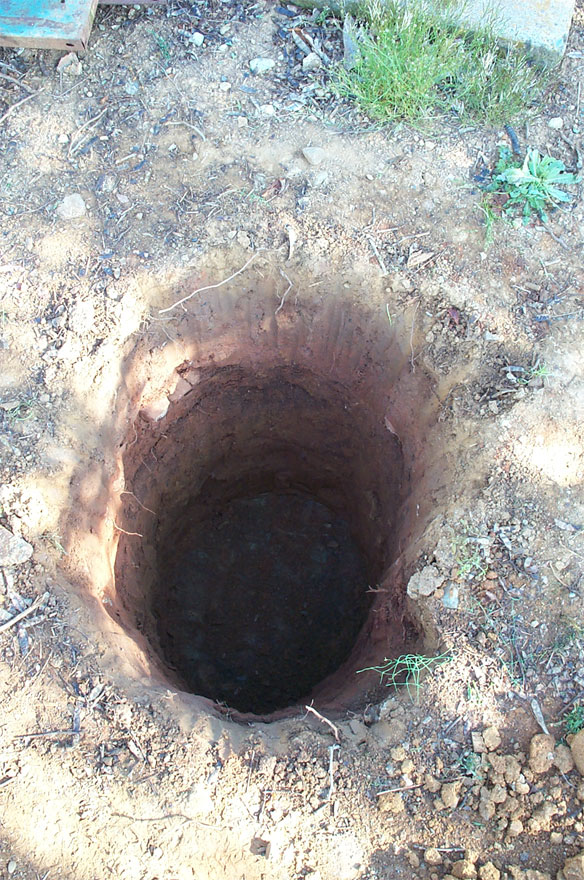
The Pier Hole
Approximately 24″ x 24″ by 44″ deep. I’d almost reached my target depth when I hit a huge rock covering the entire bottom on the hole, so the whole thing is sitting on the rock now.
Forms
Getting ready to pour the concrete for the floor. The pier cement will be isolated with 1″ thick foam. The pier concrete also has a 2″ PVC pipe that comes up in the middle of the pier for wires from the computer. I also have a power outlet in the pier concrete.
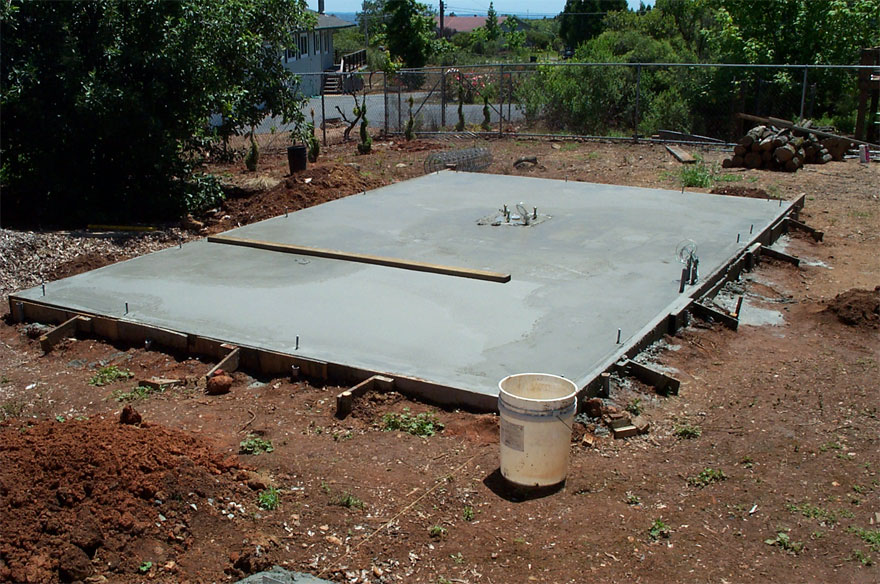
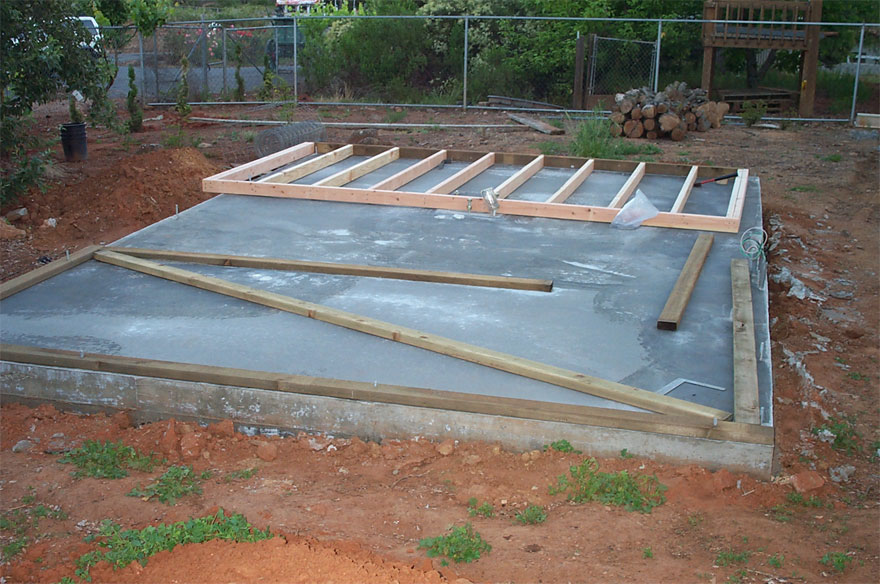
Floor poured
I put a board with nails embedded into the concrete for the warm room wall while the cement was wet.
Roof base
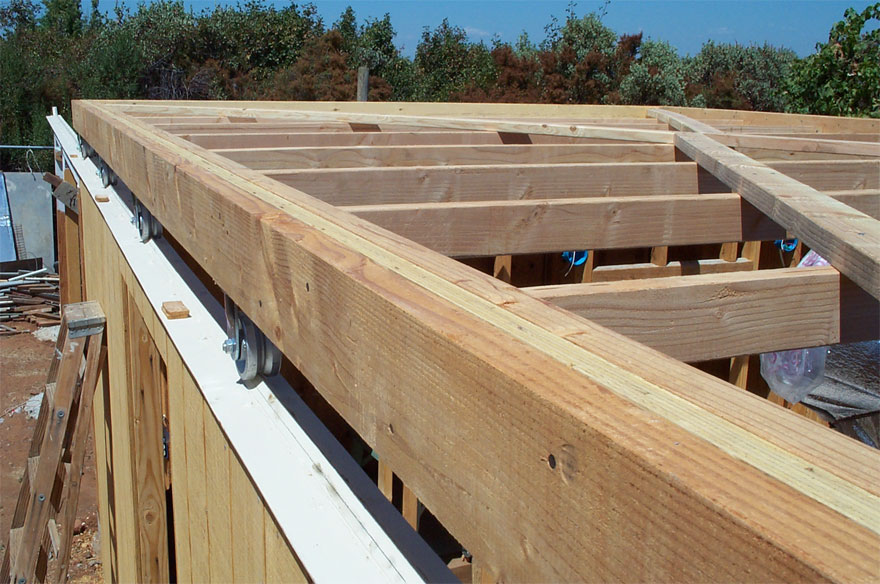
This is before the 2×12’s that will go on and cover the V groove wheels. The beams on the end connect with nails, and metal brackets that bolt in the corners for added strength.
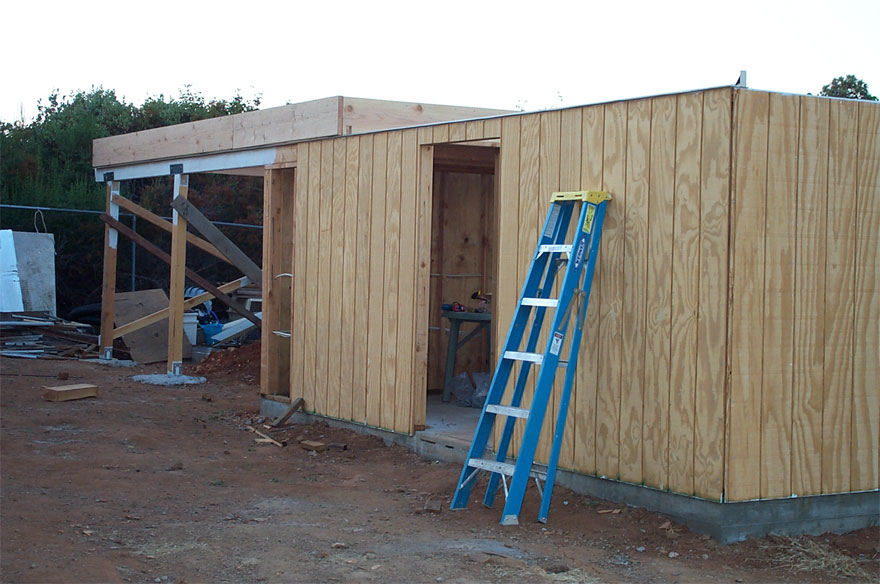
Roof base in “open” position
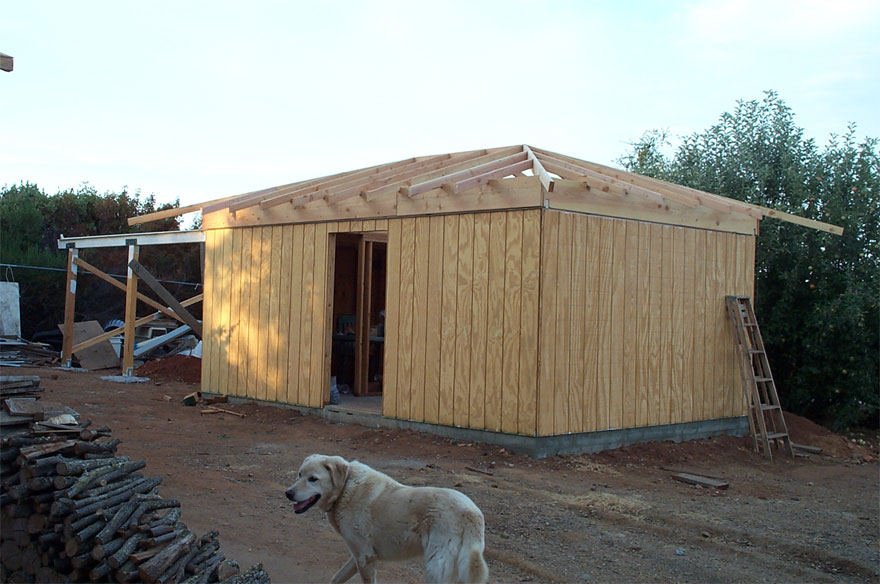
Next – the rafters! I’m already having to roll it open to use the telescope
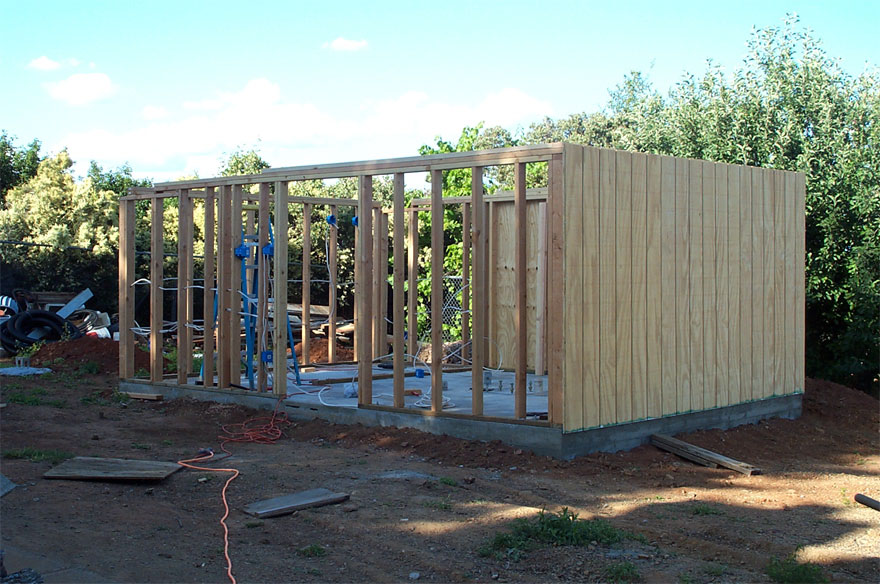
Walls painted
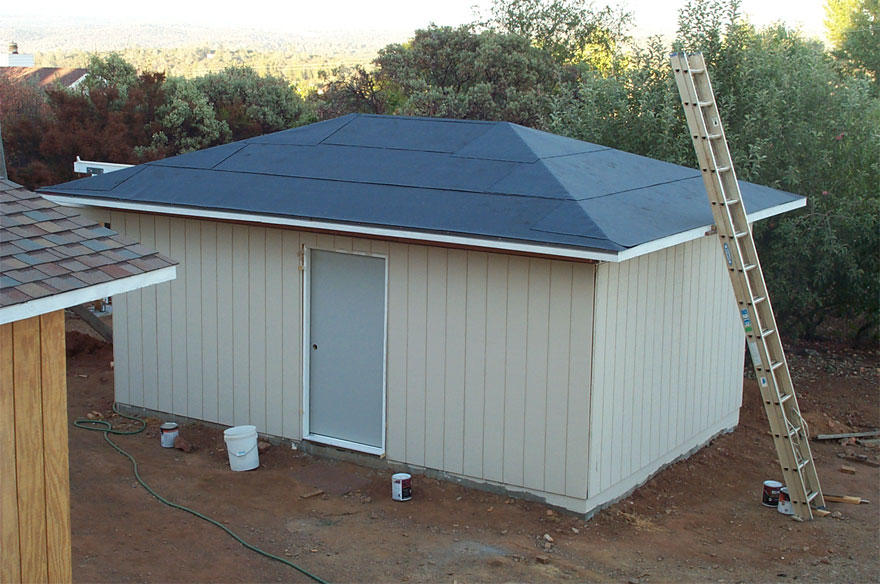
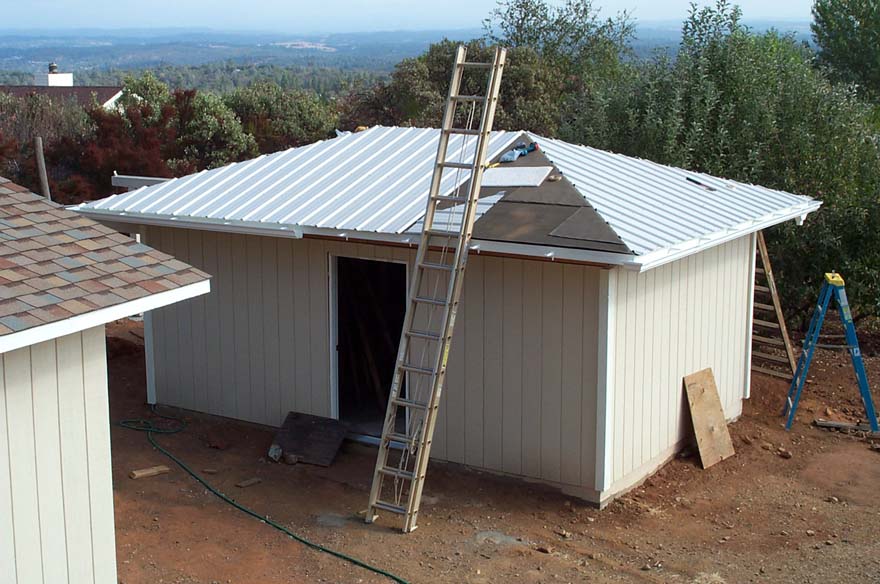
I have the felt paper on the roof because rain threatened, and just started painting the walls
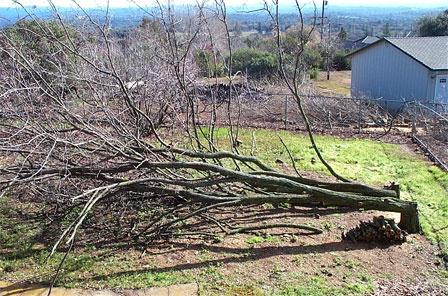
Cut down trees
Several problems solved
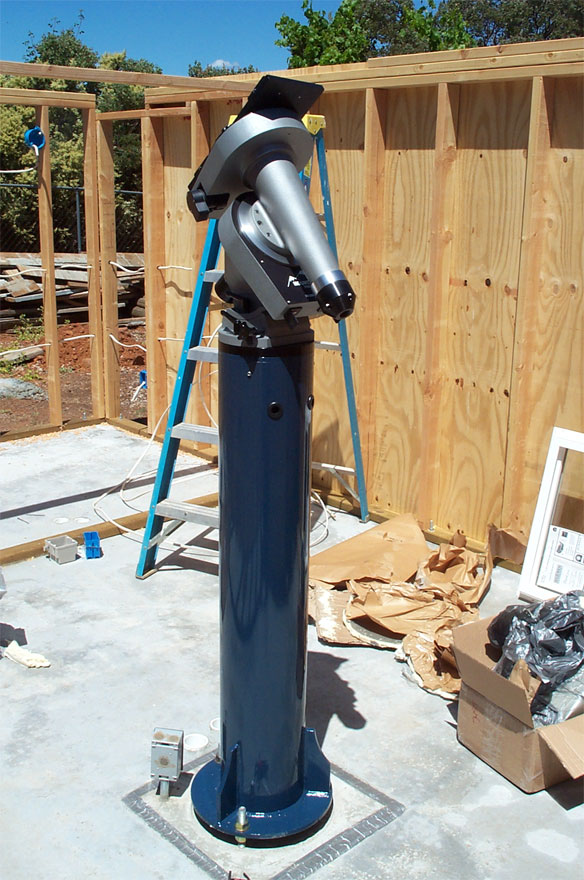
Pier is Poured
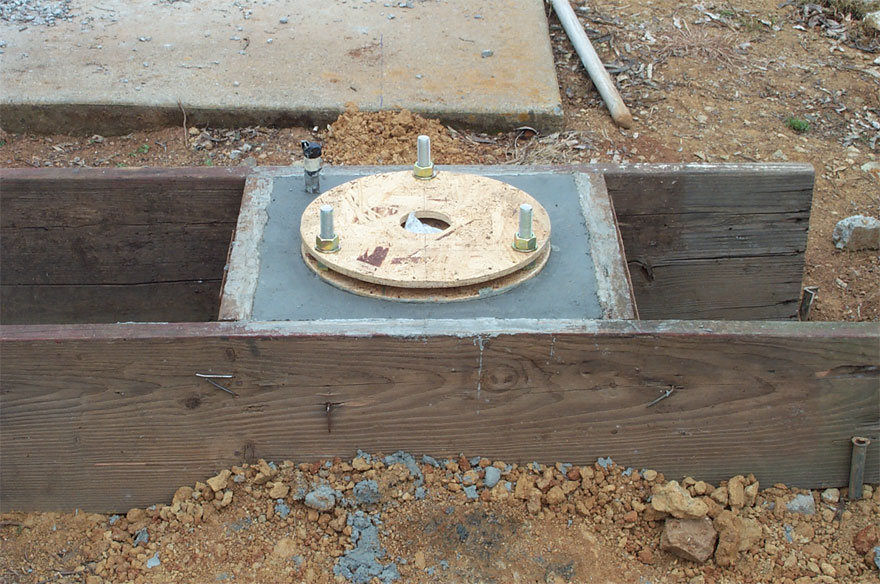
With the Astro Pier mounting kit in place, the pier is all poured. It sticks out of the ground a bit to match where the floor will be, since the ground slightly slopes.
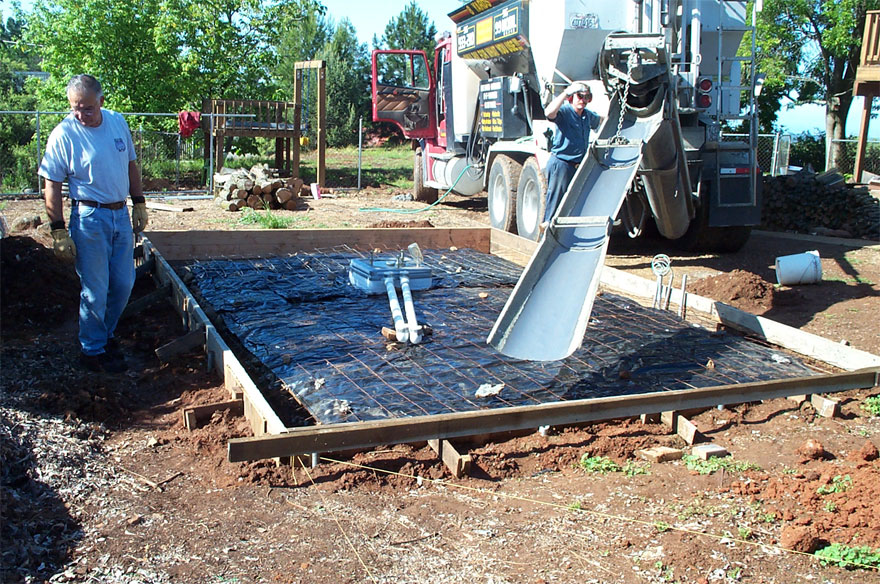
Concrete pouring day
My father in law helping out with the concrete. Notice the two PVC pipes to carry wires under the floor to the computer.
Metal rails up
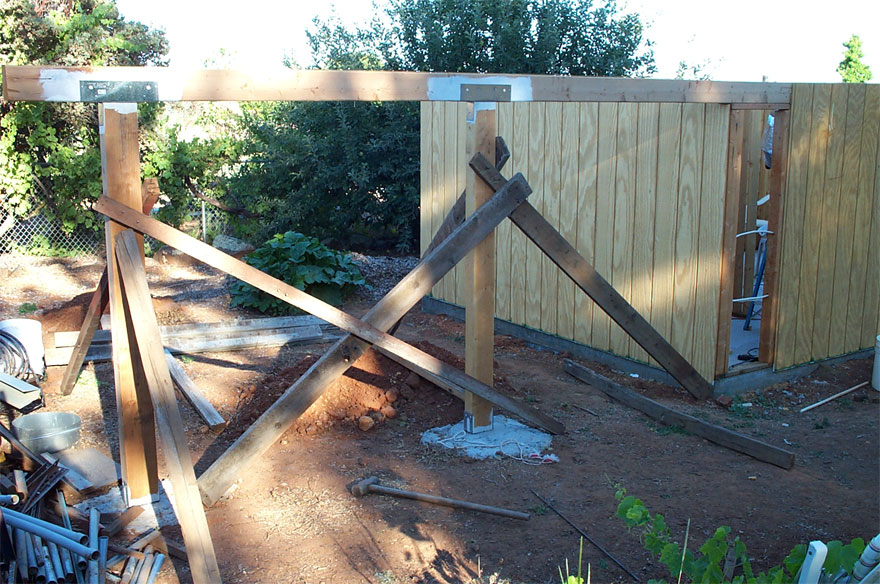
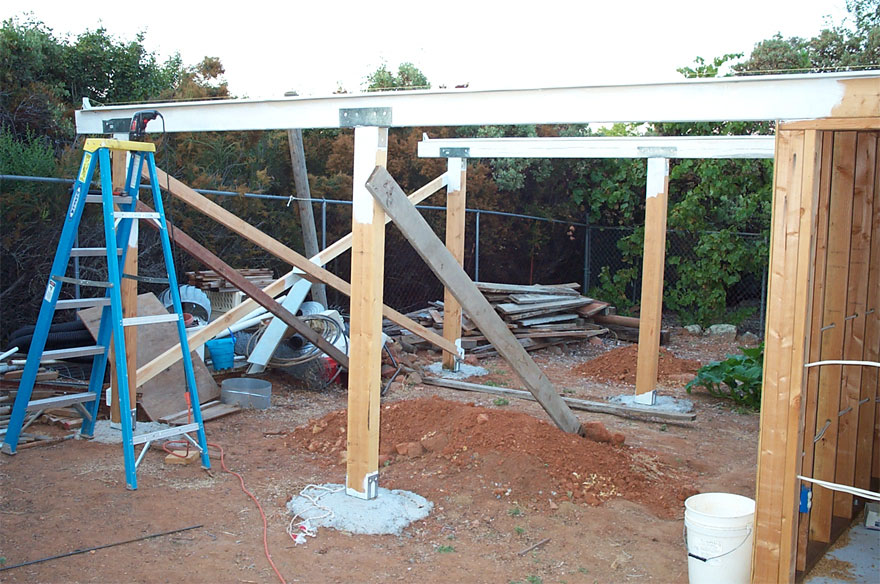
I have both beams and the metal rails up in this photo. The older boards are still some temporary braces.
The roof base
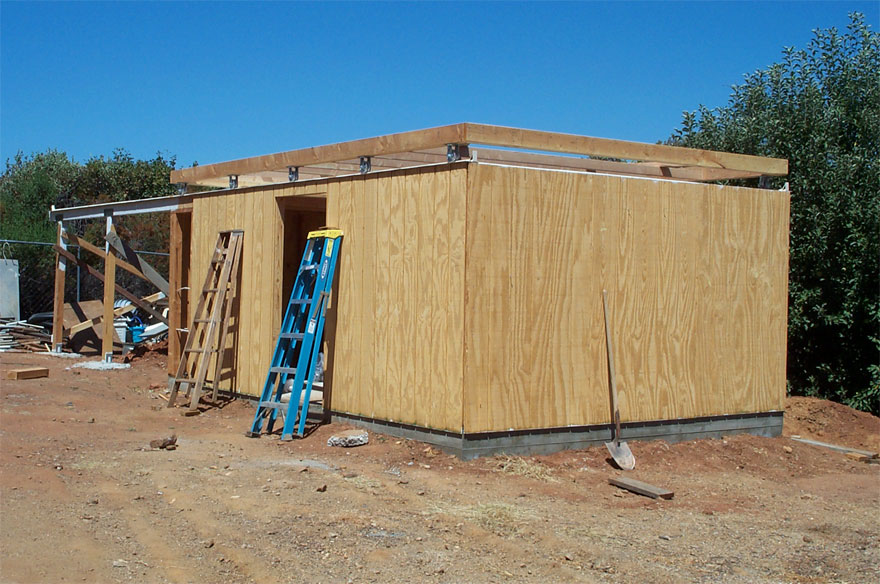
The roof base almost complete, I braced the interior with a big “X” to keep it square.
Starting plywood on roof
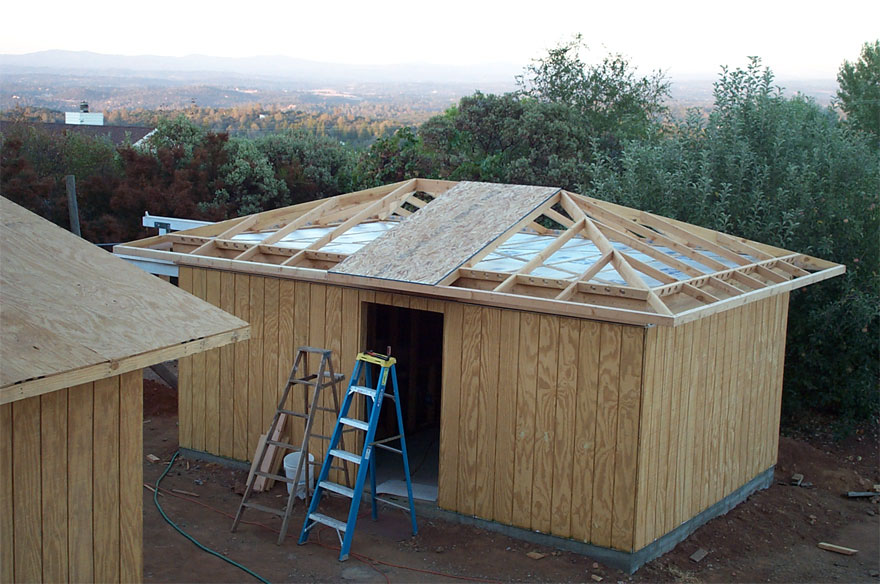
I have foamboard in the ceiling, and blocks between the rafters with vents to keep the “attic” part cooler. Ready to finish the plywood.
November 2009
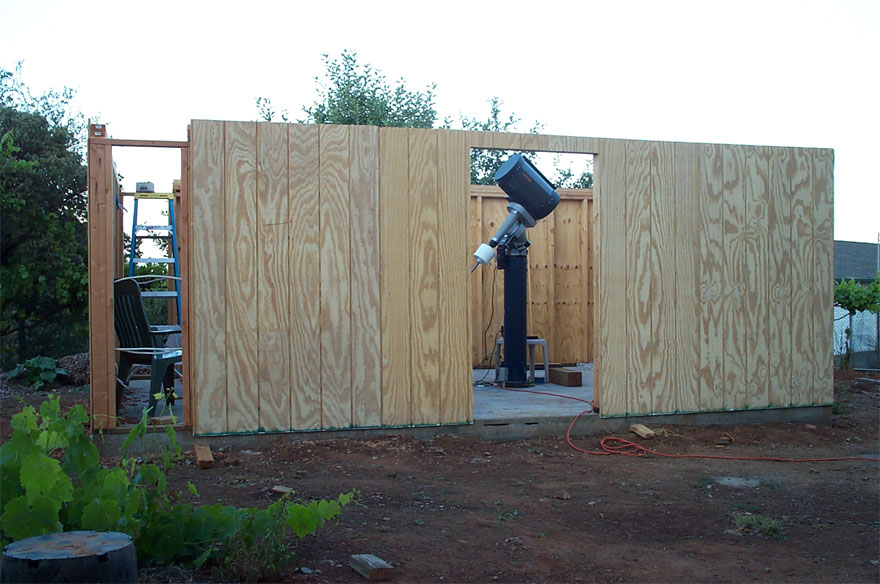
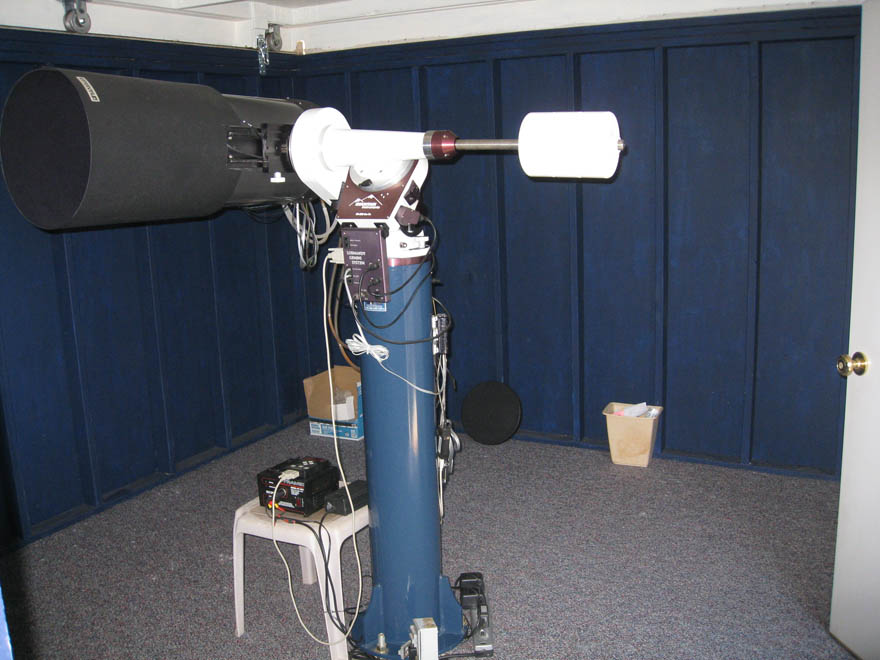
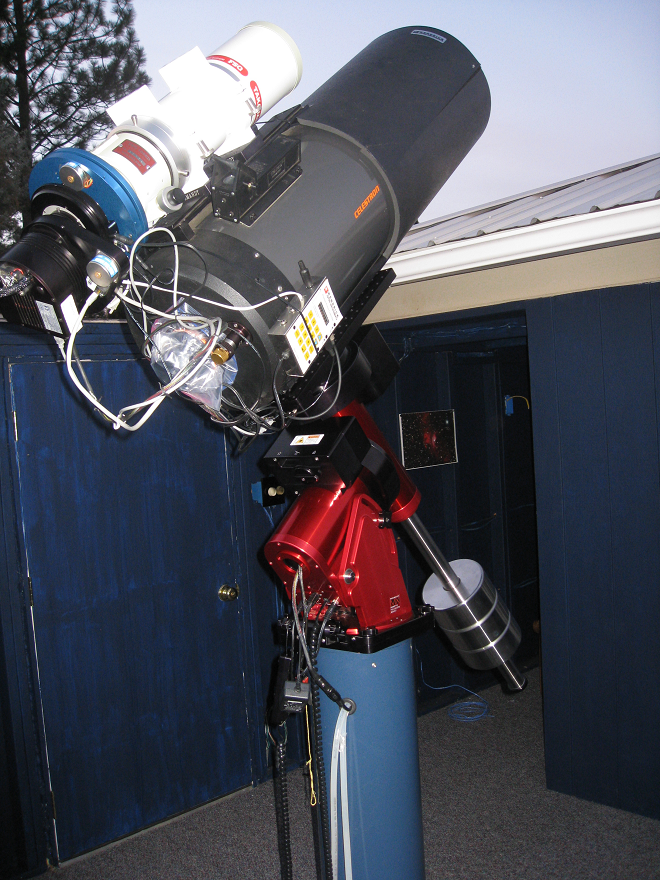
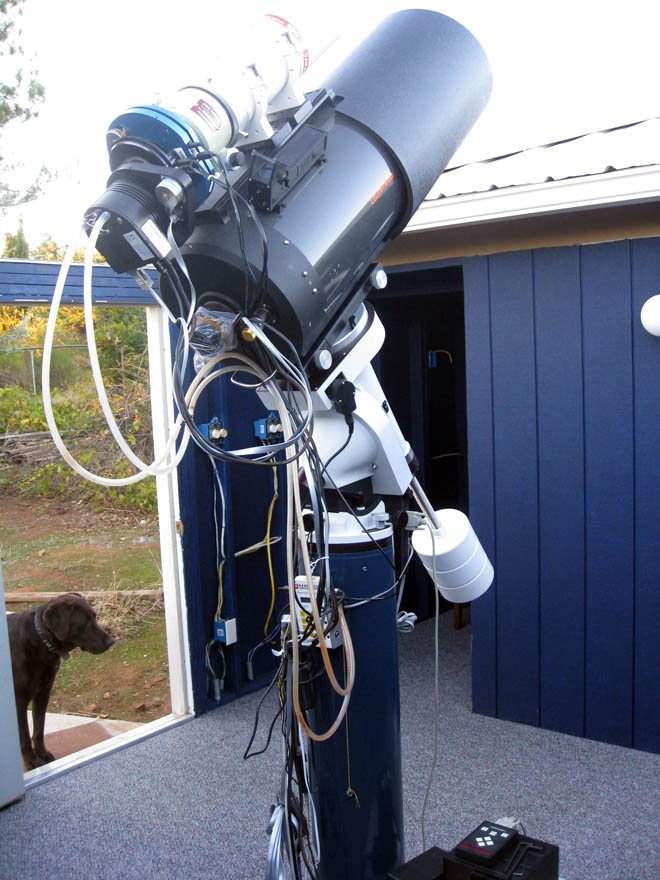
The telescope, new carpet, and my dog Max in the doorway. The new FSQ, a 4″ scope sits on top of the C11 telescope.

