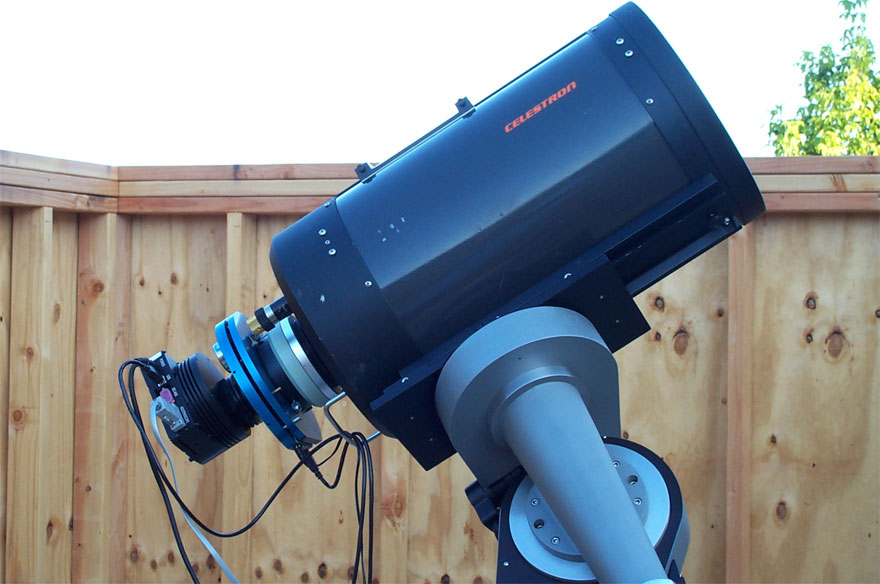
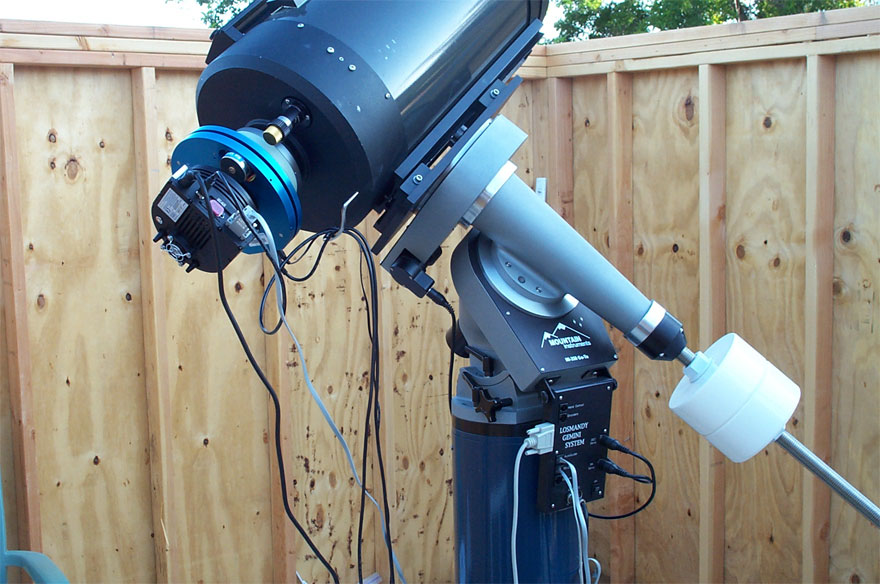
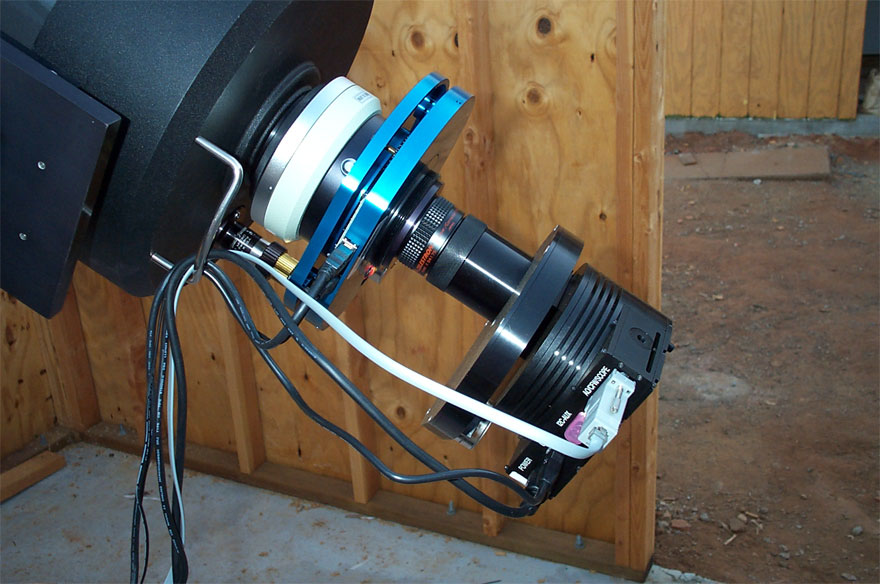
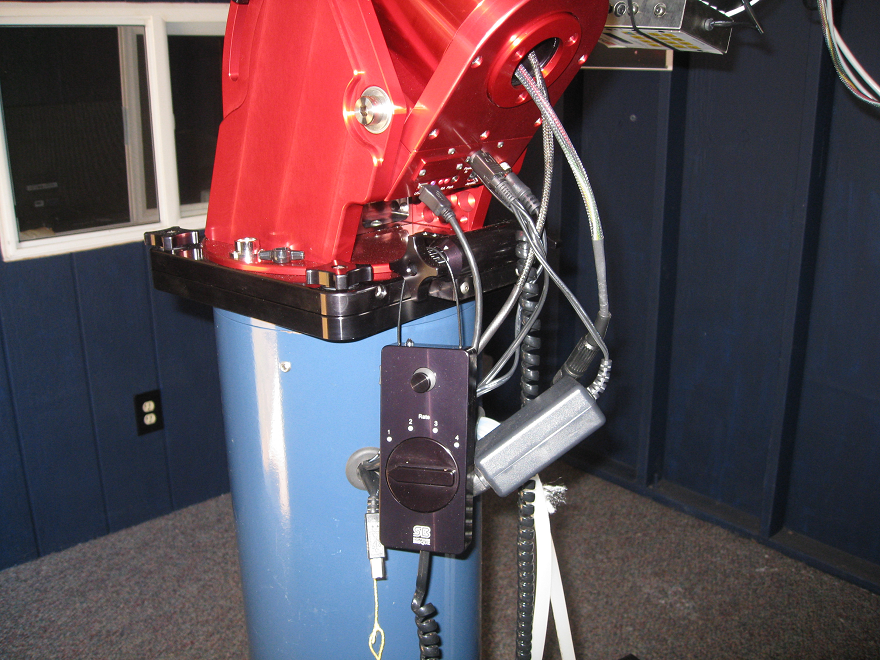
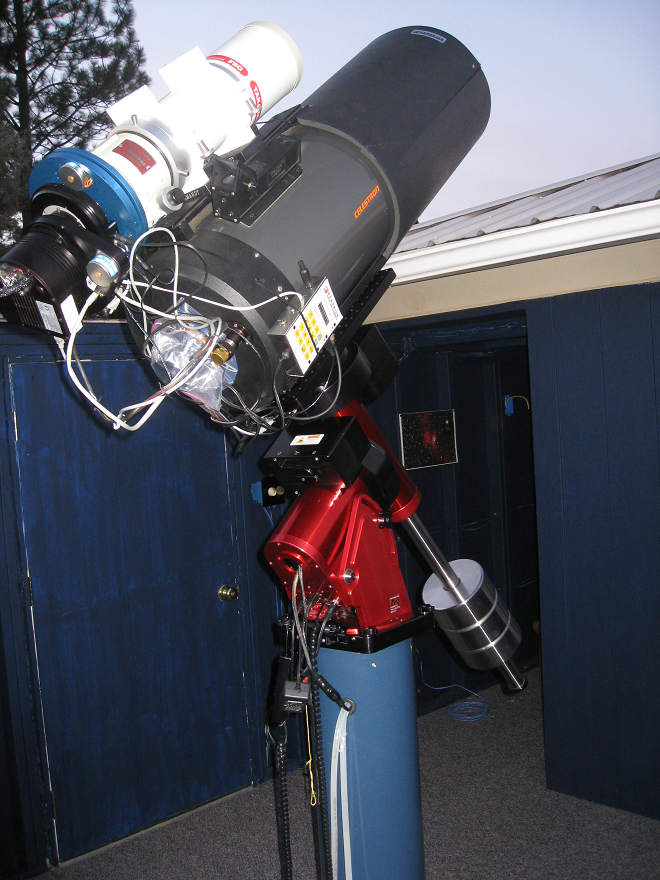
This page shows all the camera equipment, telescopes, telescope mount, pier, everything needed to take pictures through the telescope in my backyard observatory. There’s a computer in the observatory, which runs everything. There’s an amazing amount of wires running to the telescope. The software on the computer to run everything is quite a few programs. All the software needs to talk to each other, and it can get rather complex.
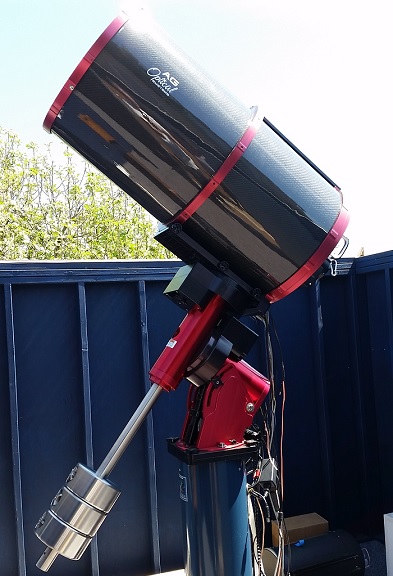
I bought a new mount, the Software Bisque Paramount MX. I have an AG Optical Systems 14.5″ iDK telescope, with a carbon fiber tube.
My FSQ-106 telescope is a smaller telescope. The FSQ will give much wider fields of view (less magnification) so I can capture larger objects.
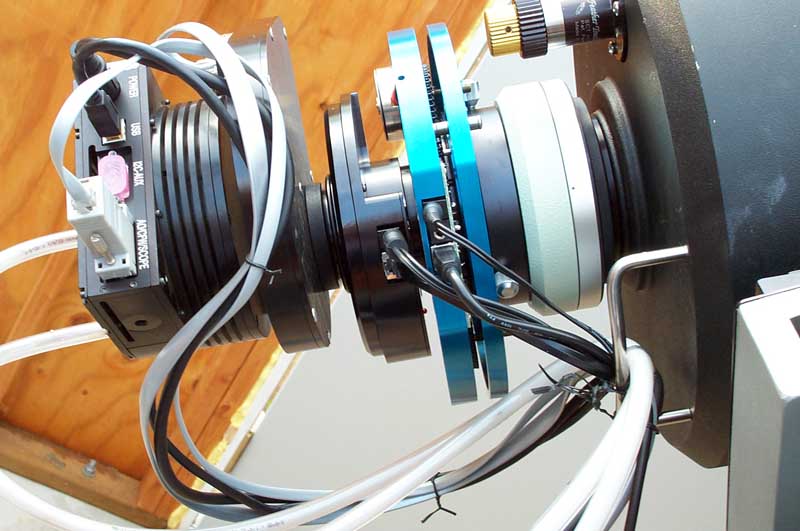
I have a Pyxis rotator to help automatically rotate the camera. This will help when doing meridian flips, to rotate the camera 180 degrees.
I’ve been using CCDStack to process the images, and wow, this software is awesome. It makes it much easier to create the final image out of the dozens to a couple hundred individual images. The quality of the final image seems to be much higher also. I just added a water pump to cool my camera, I can get an additional -15C of cooling with the water. Cooling the CCD of the camera makes it produce less noise, and a sharper image.
Most of my equipment is new, as I sold my old Newtonian when I built the observatory. I started researching the equipment in late 2004, and started purchasing it then, I finally got everything by May of 2005. With the exception of the new mount and 14.5″ telescope, which came years later.
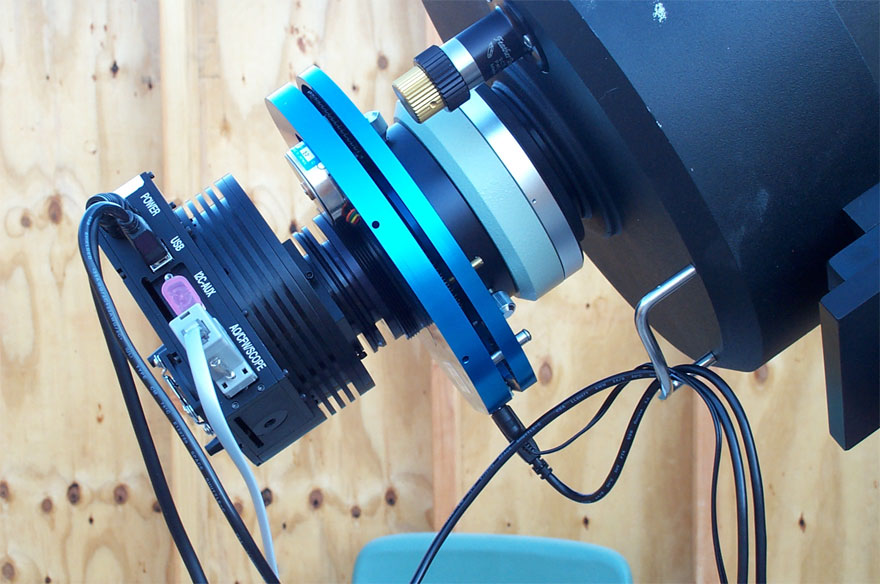
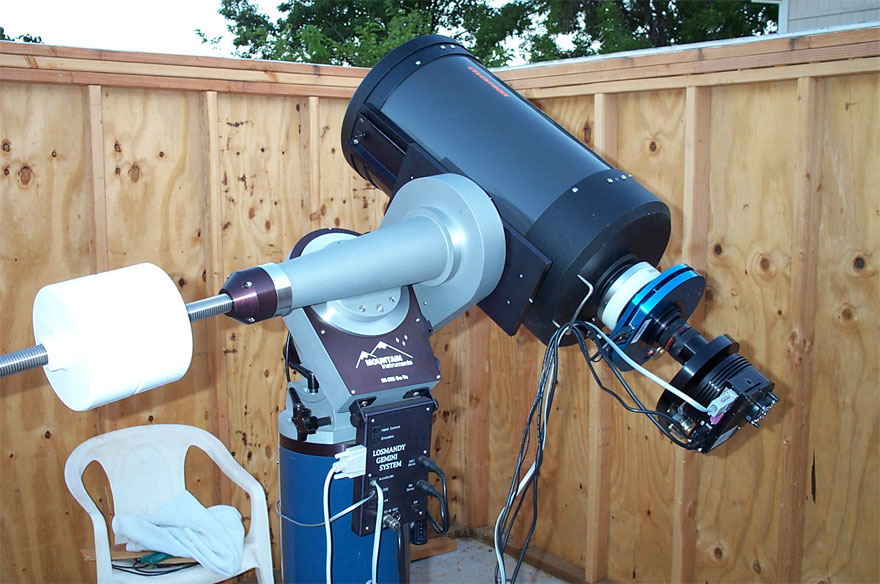
I originally bought a used C11, and purchased a MI-250 from Mountain Instruments. My pier is an Astro Pier. The camera is an ST-10XME from SBIG, a 3.2 mega pixel camera. I used a Finger Lakes Instruments PDF focuser and color wheel. The cables run under the floor in a PVC pipe to the computer, which is hooked up by a buried wired network connection to the computers inside the house and the Internet.
With the new mount, the USB hub is now up on the telescope. Thus I now only need one USB cable going to it, then everything else can plug in there, rather than having 5 or 6 USB cables going all the way up to the telescope. The new mount is a lot cleaner with the wires, as they all run up thru the mount now.
The pictures are ordered from oldest first, some equipment I no longer have, newer equipment pictures are at the bottom of the page.
